How to Set Up the VIP Tier Program
The VIP Tiers program allows you to create different customer tiers based on how much customers spend in your store. As customers reach higher spending thresholds, they move into higher VIP tiers and can unlock better rewards.
This is a useful way to encourage customers to spend more and stay engaged with your loyalty program.
Before You Start
To issue rewards through the VIP Tiers program, make sure Store Credit is enabled in your Customer account settings.
Set Up VIP Tiers
To configure the VIP Tiers program:
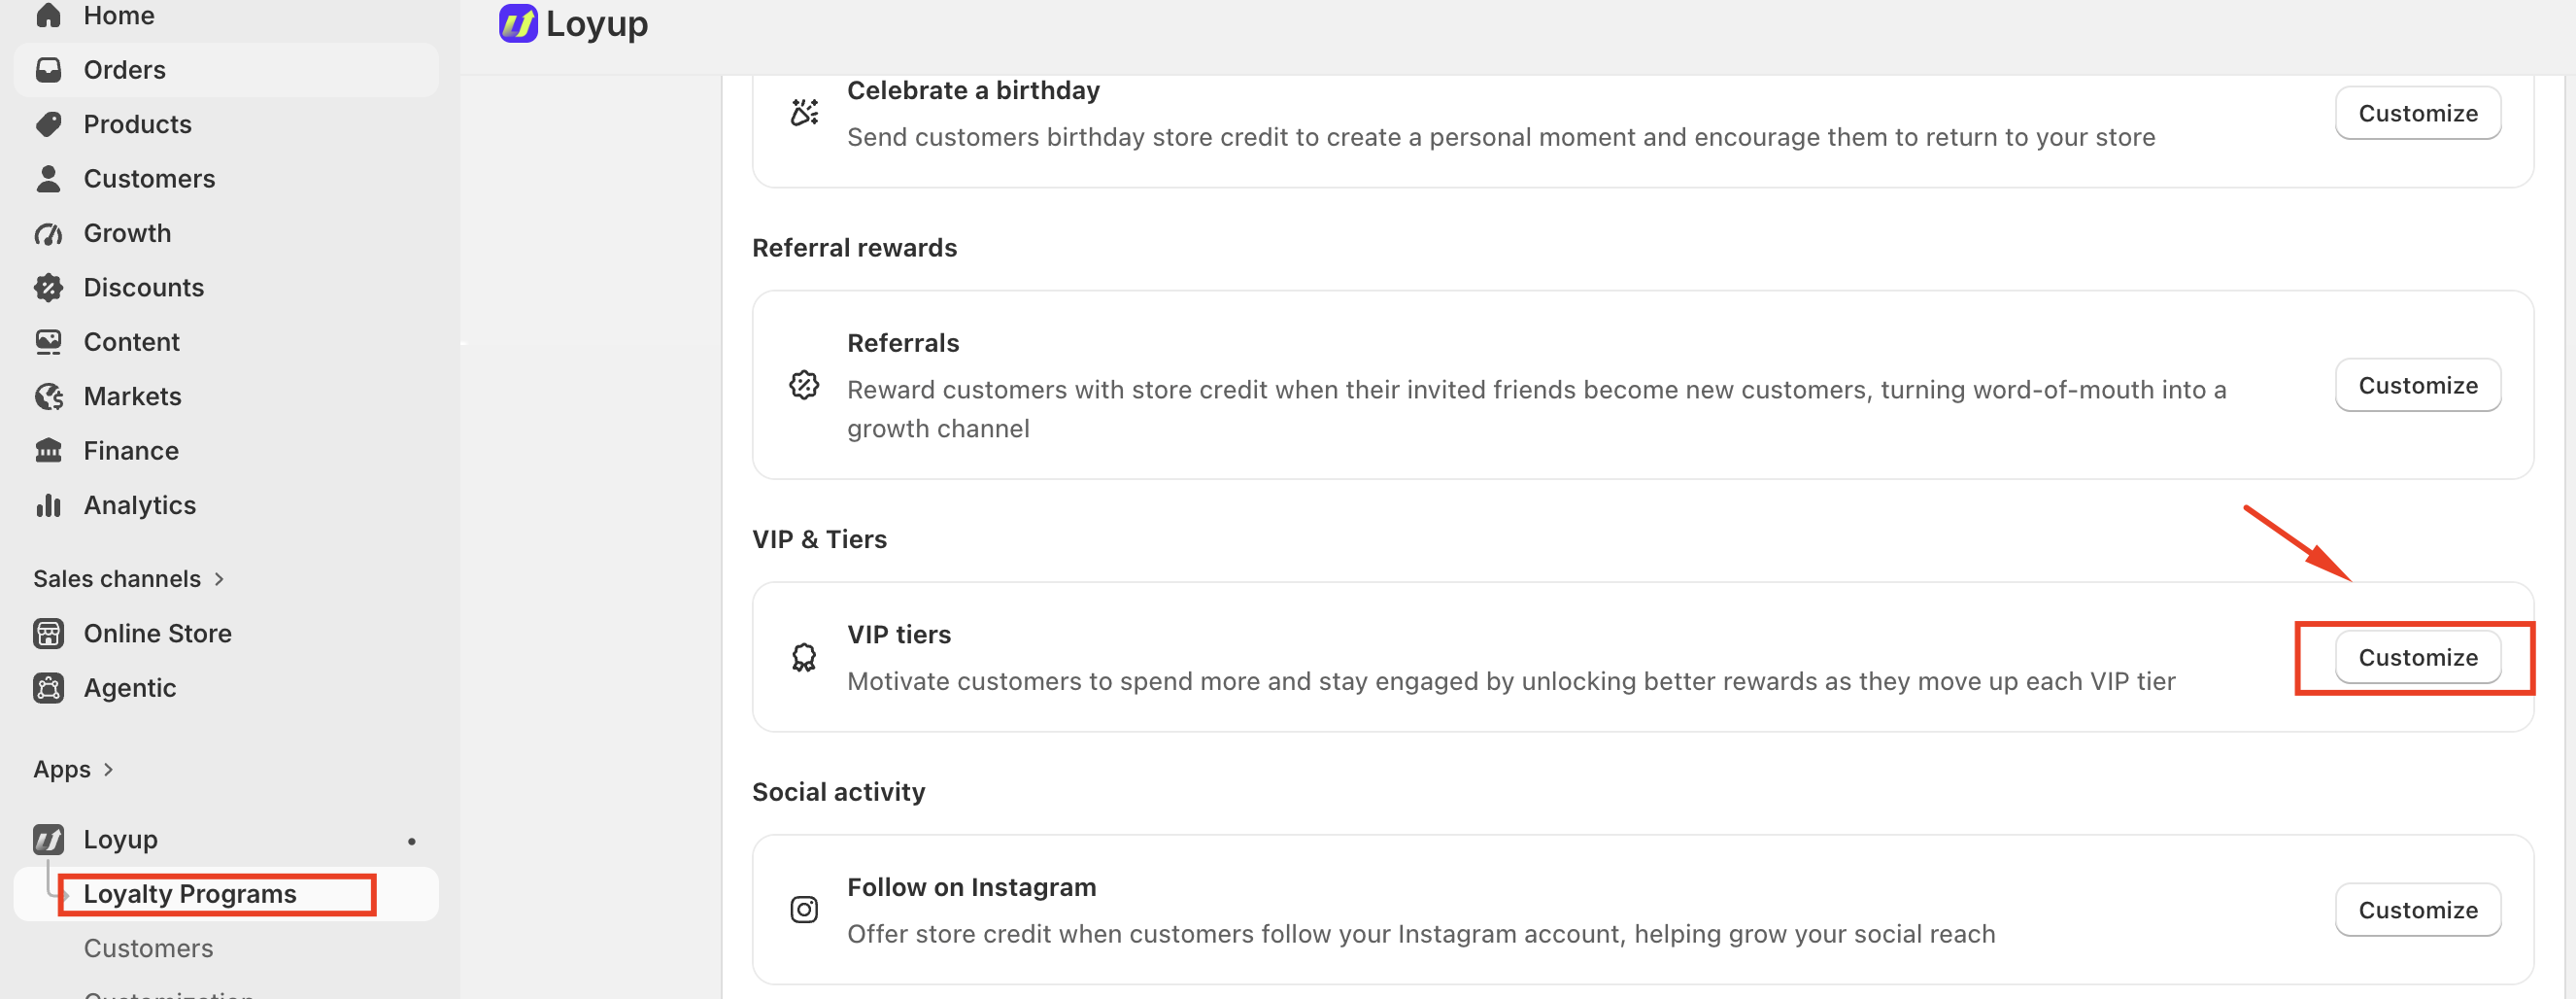
- From your Shopify admin, open Loyup.
- Select Loyalty Programs.
- Under VIP & Tiers, find VIP tiers.
- Click Customize.
You’ll see the VIP Tiers settings page, where you can create and manage your customer tiers.
Configure Your Tier Program
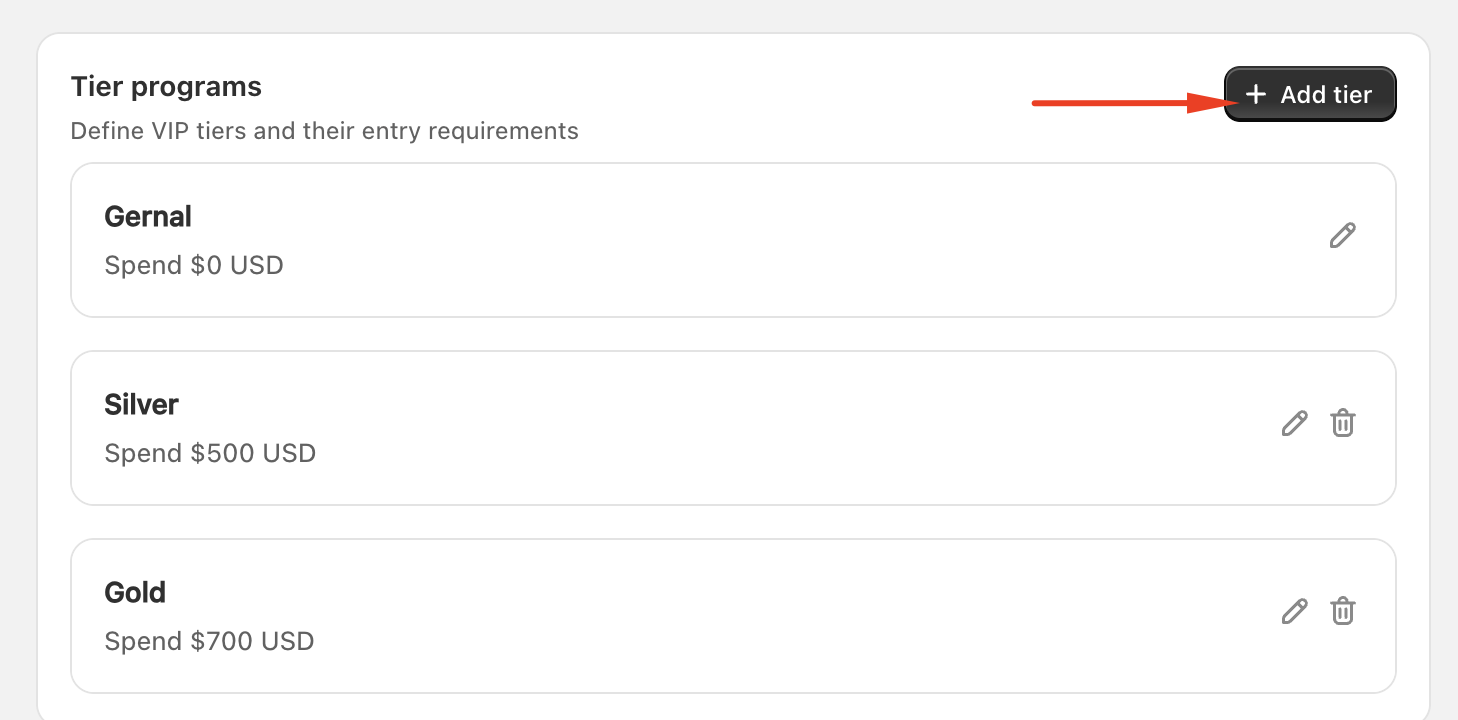
The Tier programs section displays the VIP tiers available in your program.
Each tier has an entry requirement that determines when a customer qualifies for that tier.
For example, you can create tiers such as:
- General — Spend $0 USD
- Bronze — Spend $200 USD
- Silver — Spend $500 USD
- Gold — Spend $700 USD
Customers can move into higher tiers as their qualifying spending increases.
1. Create Your Starting Tier
The first tier acts as the starting point for customers who participate in your VIP program.
By default, the starting tier can have a requirement of:
Spend $0 USD
This means customers begin in the starting tier before reaching the spending requirement for a higher tier.
To edit an existing tier:
- Find the tier you want to change.
- Click the Edit icon.
- Update the tier details.
- Save your changes.
2. Add a New Tier
You can add additional VIP tiers as your loyalty program grows.
To add a tier:
- In the Tier programs section, click + Add tier.
- Enter the name of the new tier.
- Set the spending requirement for the tier.
- Save the tier.
For example, you could create a Gold tier with an entry requirement of $700 USD.
Make sure each tier has an appropriate spending threshold so customers can progress through the program.
Credit Earning Multiplier
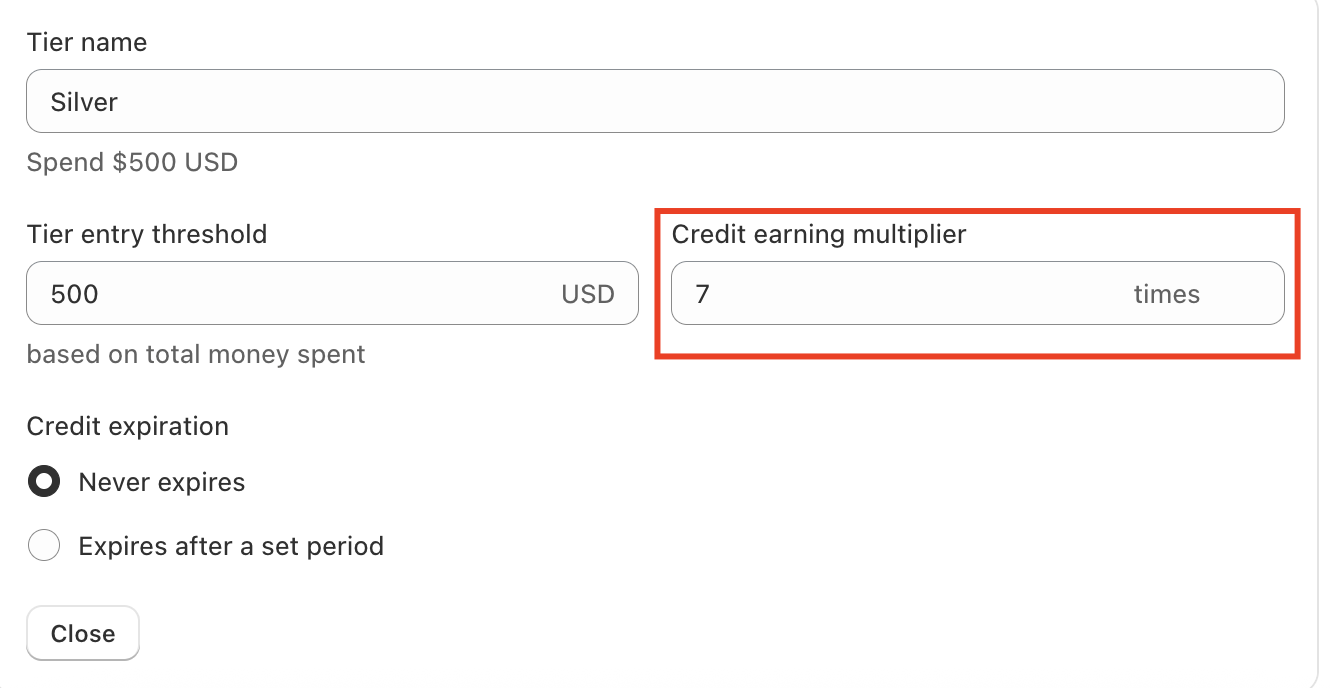
The Credit Earning Multiplier in the VIP tier settings determines how much additional credit customers earn based on the base credit amount.
For example, if a VIP tier has a 7× multiplier, a customer in that tier will earn seven times the base amount of credit. If the base credit earned is 10, the customer will receive 70 credits.
It is important to note that the VIP tier multiplier applies across the loyalty program as a whole. When multiple loyalty programs are active, the customer's VIP tier multiplier is also applied to the credit earned through those programs.
This means the multiplier is not limited to a specific loyalty program or earning activity. Instead, it acts as a tier-level benefit that increases the credit customers earn wherever applicable across the active loyalty programs.
3. Set the Tier Entry Method
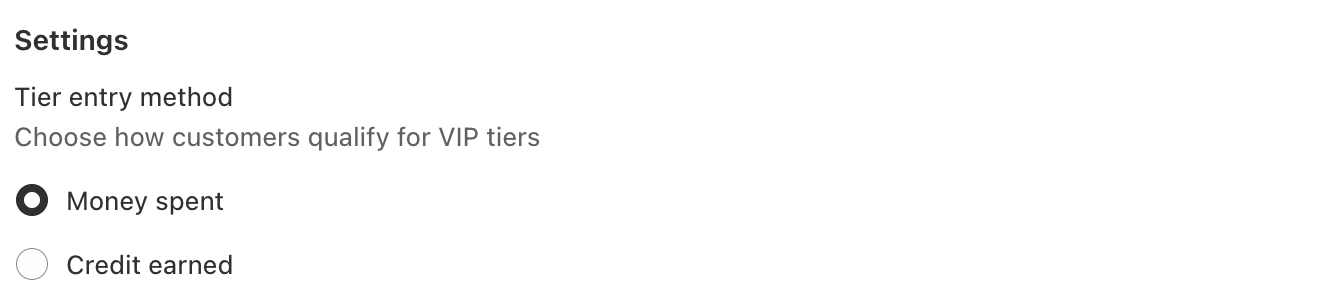
Under Settings, you can choose how customers qualify for VIP tiers.
The available options include:
- Money spent — Customers qualify for tiers based on the total amount of money they spend.
- Credit earned — Customers qualify based on the amount of loyalty credit they have earned.
Select the option that matches how you want to measure customer loyalty.
For example, if you select Money spent, a customer who reaches the required spending amount will qualify for the corresponding VIP tier.
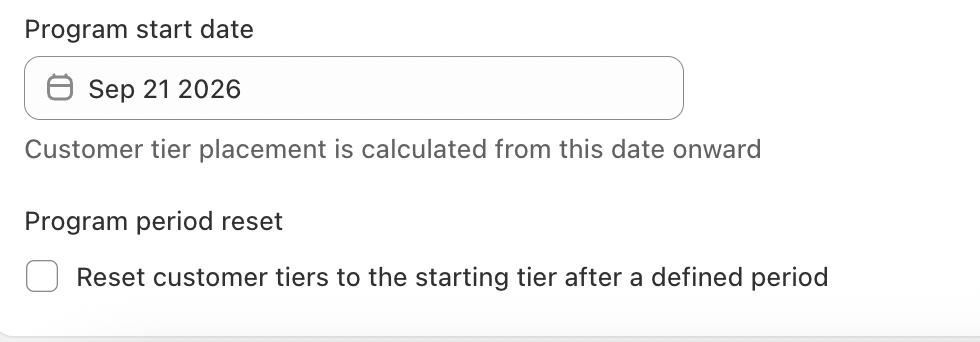
4. Set the Program Start Date
The Program start date determines when customer spending begins to count toward tier placement.
To set the start date:
- Find Program start date under Settings.
- Select the date when you want the VIP program to begin.
- Save your changes.
The customer's tier placement is calculated from this date onward.
For example, if your program start date is September 21, 2026, qualifying customer spending is calculated from September 21, 2026 onward.
Note: Changing the program start date can affect how customer tier placement is calculated.
5. Configure the Program Period Reset
The Program period reset setting allows you to reset customer tiers after a defined period.
If you want customer tiers to reset periodically, enable:
Reset customer tiers to the starting tier after a defined period
This can be useful if you want customers to maintain their VIP status by continuing to meet your spending requirements during each program period.
Choose the reset period according to how you want your loyalty program to operate.
Manage Existing Tiers
After creating your tiers, you can manage them from the Tier programs section.
For each tier, you can use the available controls to:
- Edit the tier name.
- Change the spending requirement.
- Delete a tier when it is no longer needed.
The starting tier cannot be treated like a regular higher-level tier because it serves as the entry point for customers in the program.
Tip: When changing your tier requirements, review the thresholds of all tiers to make sure the progression is clear and logical for customers.
Activate the VIP Tier Program
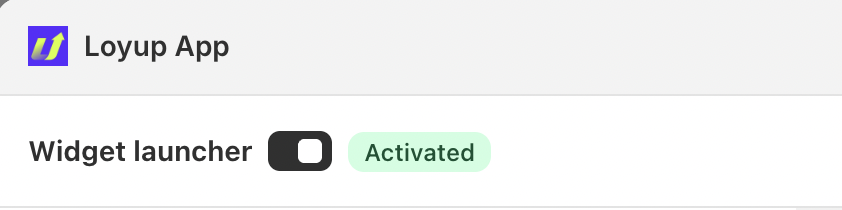
Once your tiers and settings are configured, use the Status section to control the program.
Set the program status to:
Activated
When activated, the VIP Tier program can calculate customer tier placement according to the rules you have configured.
If you need to temporarily stop the program, you can change its status from the same section.
If you have any questions or concerns, feel free to contact us at [email protected].